Baking is a delightful activity that brings families together, but sometimes accidents happen, and your baking pan gets burnt. A burnt baking pan can ruin your baking experience, but it doesn’t have to. In this comprehensive guide, we will explore various methods to restore a burnt baking pan so that you can get back to baking with ease. From DIY solutions to professional cleaning methods, we’ve got you covered. So, grab a cup of coffee, sit back, and let’s dive into the world of burnt baking pan restoration.
Identifying the Type of Burnt Baking Pan
Signs of a Burnt Baking Pan
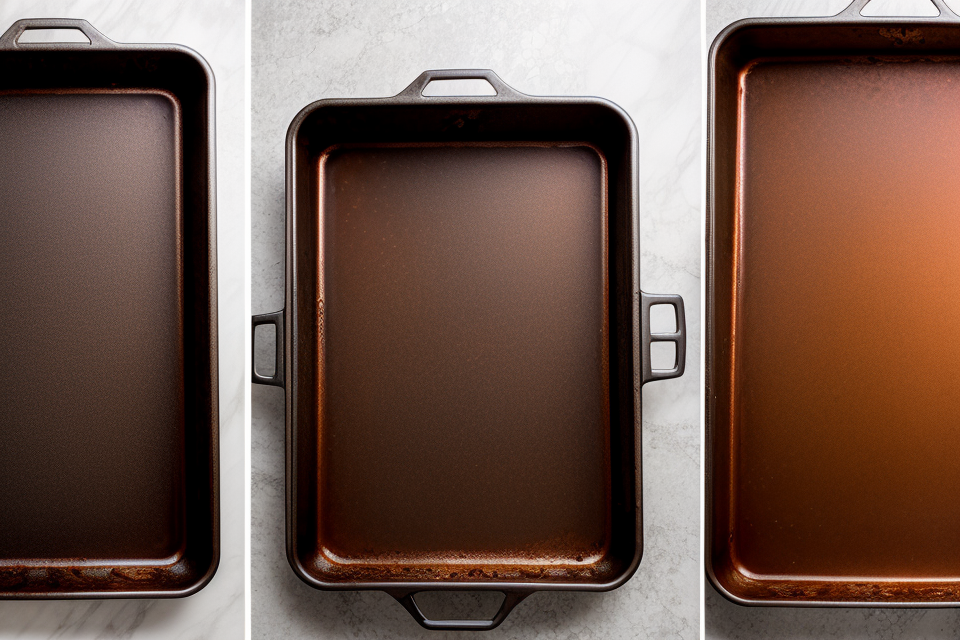
- Discoloration: One of the most common signs of a burnt baking pan is discoloration. This can be a result of overheating, which causes the metal to change color. Discoloration can range from a dull brown to a deep black, and it can be found on the surface of the pan as well as on the handles.
- Rusting or corrosion: When a baking pan is exposed to moisture, it can start to rust or corrode. This is a clear sign that the pan has been burnt, as the heat can cause the metal to react with the moisture in the air, leading to oxidation. Rusting or corrosion can be found on the surface of the pan, as well as on the edges and corners.
- Warping or distortion: When a baking pan is exposed to high heat, it can warp or distort. This is a clear sign that the pan has been burnt, as the heat can cause the metal to expand and lose its shape. Warping or distortion can be found on the surface of the pan, as well as on the edges and corners.
- Rough or pitted surface: When a baking pan is exposed to high heat, it can develop a rough or pitted surface. This is a clear sign that the pan has been burnt, as the heat can cause the metal to become rough and pitted. This can make it difficult to bake evenly, as the surface of the pan is no longer smooth. The rough or pitted surface can be found on the surface of the pan, as well as on the edges and corners.
Determining the Extent of the Damage
Visually inspecting the pan is the first step in determining the extent of the damage. Look for any discoloration, pitting, or warping. Use a soft cloth to gently wipe away any loose debris or residue. If there are any deep scratches or pits, note their location and size.
Next, test the pan’s functionality by trying to bake a small batch of cookies or brownies. Observe how the pan distributes heat and whether there are any hot spots. If the pan is warped or has uneven surface, this could affect the baking results.
Additionally, use a magnet to check for rust. If the pan is rusty, it may not be salvageable. However, if the rust is only surface level, it can often be removed with a rust remover and a wire brush.
It is important to be thorough in this step as it will determine the next steps in the restoration process. If the damage is too extensive, it may not be possible to restore the pan and it may need to be replaced.
Preparing for Cleaning
Gathering the Necessary Tools and Supplies
Before starting the cleaning process, it is important to gather all the necessary tools and supplies to ensure that the burnt baking pan is thoroughly cleaned and restored to its original condition. Here are the tools and supplies needed for the job:
- Soft sponge or cloth: A soft sponge or cloth is necessary for cleaning the baking pan as it will be gentle on the surface and will not scratch or damage it. It is recommended to use a sponge or cloth that is made of a material that can absorb water easily, such as microfiber.
- Mild dish soap or non-abrasive cleaner: A mild dish soap or non-abrasive cleaner is necessary for cleaning the burnt residue off the baking pan. It is important to use a mild soap or cleaner as harsh chemicals can damage the surface of the pan.
- Baking soda: Baking soda is a natural abrasive that can help to remove stubborn burnt residue from the baking pan. It can also neutralize any odors that may be present in the pan.
- Water: Water is necessary for cleaning the baking pan. It is important to use warm water as it will help to loosen the burnt residue and make it easier to remove.
- Scouring pad or steel wool (optional): A scouring pad or steel wool can be used as an optional tool to help remove any remaining burnt residue from the baking pan. However, it is important to use these tools sparingly as they can scratch or damage the surface of the pan.
Putting on Protective Gear
When restoring a burnt baking pan, it is important to take the necessary precautions to protect your skin and eyes from any potential harm. Here are the steps you should follow to put on protective gear:
- Gloves: Choose a pair of gloves that fit your hands well and are made of a durable material such as leather or rubber. These gloves will protect your hands from any sharp edges or rough surfaces on the burnt baking pan.
- Safety goggles: Purchase a pair of safety goggles that are designed to protect your eyes from dust, debris, and other hazards. These goggles will also shield your eyes from any hot metal or other debris that may be present on the burnt baking pan.
By putting on protective gear, you can ensure that you are safe while restoring your burnt baking pan. It is important to remember that safety should always be your top priority when working with any type of equipment or tool.
Cleaning the Burnt Baking Pan
Removing the Burnt Residue
When cleaning a burnt baking pan, it is important to remove all of the burnt residue before moving on to the next step. Here are some tips for effectively removing burnt residue from your baking pan:
- Apply a small amount of dish soap or cleaner to a sponge or cloth: This will help to break down the burnt residue and make it easier to remove.
- Gently scrub the burnt residue using circular motions: Be sure to scrub in a circular motion, as this will help to prevent scratches on the surface of the pan.
- Use a scouring pad or steel wool for stubborn burnt residue: If the burnt residue is particularly stubborn, you may need to use a scouring pad or steel wool to remove it. However, be sure to use these tools with caution, as they can scratch the surface of the pan if used too aggressively.
Overall, it is important to be patient and take your time when removing burnt residue from your baking pan. Rushing this step can lead to scratches or other damage to the pan, which can impact its performance in future baking attempts.
Removing Rust and Corrosion
- Identifying Rust and Corrosion
- Rust is a reddish-brown flaky substance that forms when iron oxidizes. It can be caused by moisture and oxygen reacting with the metal, which is common in baking pans.
- Corrosion is a more general term that refers to the degradation of a metal surface due to a chemical reaction. It can manifest as rust, tarnish, or other discolorations.
- Choosing the Right Cleaning Method
- Different cleaning methods are needed for rust and corrosion, as rust is a specific type of corrosion. It’s essential to identify the specific issue before proceeding with the cleaning process.
- Applying Baking Soda
- Baking soda is a mild abrasive that can help remove rust and corrosion from the pan. It works by gently scrubbing away the damaged layers of metal, revealing the underlying, undamaged surface.
- To apply baking soda, first create a paste by mixing it with water. This will give the baking soda a better consistency and make it easier to apply evenly to the pan.
- Scrubbing the Paste
- Using a non-abrasive sponge or cloth, gently scrub the paste onto the affected areas of the pan. Be sure to apply even pressure and cover the entire surface, paying extra attention to any areas with heavier rust or corrosion.
- The baking soda paste should be able to remove the rust and corrosion without causing further damage to the pan. If the paste seems to be causing scratches or other marks, stop using it and try a different cleaning method.
- Rinsing and Drying the Pan
- After scrubbing the paste, rinse the pan thoroughly with clean water to remove any remaining baking soda residue.
- Once the pan is clean and free of residue, dry it completely with a clean towel or let it air dry. This will help prevent any water spots or other issues from forming on the pan.
Polishing the Pan
After removing any loose debris and residue from the burnt baking pan, the next step is to polish the pan to remove any remaining residue or stains. This step is crucial to ensure that the pan is completely clean and ready for use. Here are the steps to polish the pan:
- Apply a small amount of oil or cooking spray to a soft cloth.
It is important to use a soft cloth for this step, as it will help to avoid scratching the surface of the pan. The oil or cooking spray will act as a lubricant, making it easier to buff the pan without causing any damage.
- Buff the pan in a circular motion to remove any remaining residue or stains.
Once the cloth is lubricated, use a circular motion to buff the pan. This will help to remove any remaining residue or stains that may have been missed during the earlier cleaning steps. Be sure to cover the entire surface of the pan to ensure that it is completely clean.
- Wipe off any excess oil or cooking spray with a clean cloth.
After buffing the pan, use a clean cloth to wipe off any excess oil or cooking spray. This will help to prevent any buildup of residue and ensure that the pan is completely clean and ready for use.
Overall, polishing the pan is an important step in restoring a burnt baking pan. By using a lubricated cloth and buffing the pan in a circular motion, it is possible to remove any remaining residue or stains and restore the pan to its original condition.
Assessing the Results
Checking for Any Remaining Burnt Residue
Visually inspecting the pan for any remaining burnt residue is the first step in determining if there is any residue left on the pan. This can be done by simply looking at the pan and using the naked eye to see if there are any discolorations or stains that may indicate the presence of burnt residue.
Another method to check for any remaining burnt residue is to use a white cloth to wipe the pan. This can help to remove any loose residue that may be present on the surface of the pan. After wiping the pan with the white cloth, it should be checked for any residue to ensure that all of the burnt residue has been removed.
It is important to note that some burnt residue may be difficult to remove, especially if it has penetrated into the pores of the pan. In such cases, it may be necessary to use a stronger cleaning solution or to repeat the cleaning process several times to ensure that all of the burnt residue has been removed.
It is also important to ensure that the pan is completely dry before using it again. Any remaining moisture on the pan can cause food to become stuck or burned during cooking, which can result in an unpleasant taste and texture. Therefore, it is recommended to use a clean towel to pat the pan dry or to leave it in a well-ventilated area to air dry completely before using it again.
Evaluating the Condition of the Pan
When restoring a burnt baking pan, it is crucial to evaluate the condition of the pan before proceeding with the restoration process. Here are some key factors to consider:
- Check for any further damage or warping: It is essential to examine the pan for any additional damage or warping that may have occurred during the burning process. Look for any dents, bends, or uneven surfaces that may affect the pan’s functionality.
- Determine if the pan is still functional: After assessing the pan for further damage, the next step is to determine if the pan is still functional. To do this, you can try to conduct a simple test by pouring water into the pan and checking if there are any leaks or irregularities in the surface.
It is also essential to consider the age and overall condition of the pan. If the pan is old and has been subjected to multiple burns, it may be best to replace it rather than attempting to restore it. However, if the pan is still in good condition, with only minor burns, restoration may be a viable option.
Deciding on Next Steps
- If the pan is still functional, continue using it for baking
- Clean the pan thoroughly and inspect it for any further damage
- Consider using the pan for less visible baking tasks, such as cakes or breads
- Experiment with different baking techniques and recipes to make the most of the restored pan
- If the pan is beyond repair, consider replacing it or recycling it
- Look for a replacement pan with similar dimensions and features
- Consider purchasing a new pan made from eco-friendly materials
- Contact a local recycling center to learn about options for disposing of the damaged pan responsibly
FAQs
1. What are the common causes of burnt baking pans?
Burnt baking pans can be caused by a variety of factors, including overheating, using too high heat, not preheating the oven, using the wrong type of cookware, or cooking for too long. Additionally, not greasing the pan properly or using metal utensils to stir the batter can also cause damage to the pan.
2. Can a burnt baking pan be restored?
Yes, a burnt baking pan can be restored. With the right techniques and tools, it is possible to remove the burnt residue and restore the pan to its original condition.
3. What tools are needed to clean a burnt baking pan?
To clean a burnt baking pan, you will need a mixture of equal parts water and vinegar, a non-abrasive sponge or cloth, a pan scraper, and a plastic putty knife.
4. How do you remove burnt residue from a baking pan?
To remove burnt residue from a baking pan, first mix equal parts water and vinegar in a bowl. Dip a non-abrasive sponge or cloth into the mixture and scrub the burnt residue gently. Then, use a pan scraper to remove any remaining residue. Finally, use a plastic putty knife to scrape off any stubborn residue.
5. Is it safe to use abrasive cleaners on a burnt baking pan?
No, it is not safe to use abrasive cleaners on a burnt baking pan. Abrasive cleaners can scratch the surface of the pan and cause further damage.
6. Can I use baking soda to clean a burnt baking pan?
Yes, baking soda is a great natural cleaner for baking pans. Mix equal parts baking soda and water to form a paste, then apply the paste to the burnt residue and let it sit for a few minutes before scrubbing it off with a non-abrasive sponge or cloth.
7. How often should I clean my baking pan?
It is recommended to clean your baking pan after each use to prevent buildup and maintain its performance. However, if you do not have time to clean it right away, make sure to at least rinse it with warm water and dry it thoroughly before storing it.
8. Can I use cooking oil to season a burnt baking pan?
No, it is not recommended to use cooking oil to season a burnt baking pan. Cooking oil can gum up the pan and cause further damage. Instead, season the pan with a small amount of oil or cooking spray before each use.


