Are you tired of struggling to clean your burnt baking trays? Do you find yourself spending hours scrubbing and still not achieving the desired results? Look no further! In this comprehensive guide, we will provide you with effective strategies for cleaning burnt baking trays in no time. From using natural cleaning agents to the latest cleaning technologies, we’ve got you covered. So, grab a cup of coffee, sit back, and let’s dive into the world of burnt baking tray cleaning!
Preparing for Cleaning
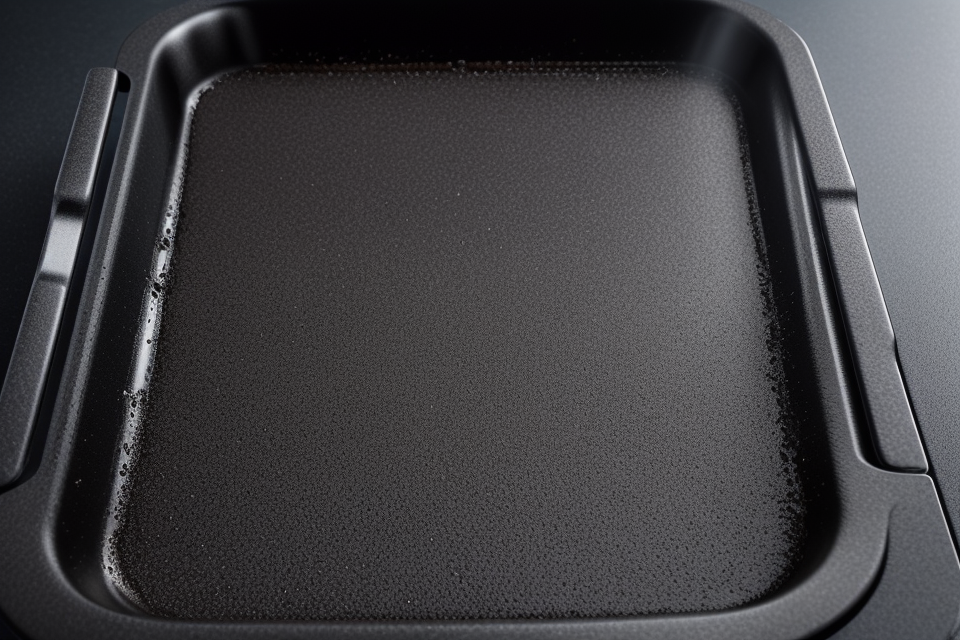
Gathering Essential Tools and Supplies
- Kitchen cleaning gloves: Wearing kitchen cleaning gloves is crucial when cleaning burnt baking trays, as they protect your hands from the heat and any sharp edges that may be present on the tray. Look for gloves made from durable materials that can withstand high temperatures and provide adequate protection.
- Non-abrasive sponge or cloth: Using a non-abrasive sponge or cloth is essential when cleaning burnt baking trays. Abrasive materials can scratch the surface of the tray and make it more difficult to remove the burnt residue. Opt for a soft sponge or cloth made from natural fibers, such as cotton or microfiber.
- Soap or mild detergent: Soap or mild detergent is necessary for breaking down the grease and grime that accumulates on burnt baking trays. Choose a soap or detergent that is gentle on the tray’s surface and won’t cause any damage. Avoid using harsh chemicals or abrasive cleaners, as they can harm the tray and make it more difficult to clean in the future.
- Baking soda: Baking soda is an excellent natural cleaning agent that can help to absorb grease and grime from burnt baking trays. Sprinkle baking soda onto the tray and let it sit for a few minutes before scrubbing. This will help to break down the burnt residue and make it easier to remove.
- Scouring pad or non-abrasive steel wool: A scouring pad or non-abrasive steel wool can be used to scrub away the burnt residue on the baking tray. Choose a pad or steel wool that is specifically designed for non-abrasive cleaning to avoid scratching the tray’s surface.
- Water: Water is necessary for cleaning burnt baking trays. Use warm water to loosen the grease and grime, and avoid using hot water, as it can cause the burnt residue to become more difficult to remove. If you prefer, you can also use a mixture of warm water and white vinegar, as the vinegar helps to break down the residue.
Assessing the Extent of the Burnt Residue
- Identifying the type of burnt residue
The first step in assessing the extent of the burnt residue on a baking tray is to identify the type of residue. Different types of burnt residue require different cleaning methods, so it’s important to determine which type of residue is present before proceeding with the cleaning process.
There are several types of burnt residue that can be found on baking trays, including:
- Sugar residue: This type of residue is typically found on baking trays that have been used to bake sweets or desserts. It is characterized by a sticky, caramel-like texture and a brown or yellow color.
- Grease residue: This type of residue is typically found on baking trays that have been used to bake savory dishes or foods that have been cooked in oil or butter. It is characterized by a slippery, oily texture and a brown or black color.
- Food residue: This type of residue is typically found on baking trays that have been used to bake a variety of foods. It is characterized by a mix of different textures and colors, depending on the food that was baked.
Once the type of burnt residue has been identified, the next step is to evaluate the severity of the burnt residue. This will help determine the most effective cleaning method to use.
Removing Burnt Residue with Soapy Water
Applying Soapy Water
When it comes to removing burnt residue from baking trays, soapy water is one of the most effective and accessible cleaning solutions. Here’s how to apply soapy water to remove burnt residue:
- Dampening a non-abrasive sponge or cloth with soapy water: To start, fill a sink or large container with warm water and add a few drops of mild dish soap. Then, take a non-abrasive sponge or cloth and thoroughly saturate it with the soapy water. This will create a foamy, soapy mixture that is perfect for cleaning burnt residue off baking trays.
- Gently scrubbing the burnt residue: Once you have your sponge or cloth ready, gently scrub the burnt residue on the baking tray using a circular motion. It’s important to be gentle here, as you don’t want to scratch or damage the surface of the baking tray. The soapy water will help to loosen and dissolve the burnt residue, making it easier to remove.
It’s important to note that when applying soapy water to clean burnt residue off baking trays, you should always work in a well-ventilated area. The fumes from the soap can be overwhelming, and you don’t want to breathe them in for an extended period of time. Additionally, make sure to rinse the baking tray thoroughly with clean water afterward to remove any remaining soap residue.
Lifting Burnt Residue with a Scouring Pad or Steel Wool
- Using a non-abrasive scouring pad or steel wool
- Gently scrubbing the burnt residue
When it comes to removing burnt residue from baking trays, a scouring pad or steel wool can be incredibly effective. However, it’s important to use a non-abrasive version of these tools to avoid scratching or damaging the surface of the tray.
To use a scouring pad or steel wool, simply wet the pad or wool with soapy water and gently scrub the burnt residue until it lifts off. It’s important to apply even pressure and avoid scrubbing too hard, as this can cause damage to the tray.
If the burnt residue is particularly stubborn, you may need to use a bit more elbow grease and scrubbing motion. However, be careful not to apply too much pressure, as this can cause the residue to become even more embedded in the tray.
Once you’ve lifted the burnt residue off the tray, rinse it off with clean water and dry it thoroughly with a clean cloth. With a little bit of effort, you’ll be able to get your baking tray looking like new in no time.
Neutralizing Odors with Baking Soda
One of the most effective ways to neutralize odors from burnt baking trays is by using baking soda. This versatile ingredient is not only a great leavening agent in baking but also has excellent odor-absorbing properties. Here’s how you can use baking soda to neutralize odors from burnt baking trays:
Sprinkling baking soda on the burnt residue
The first step is to sprinkle a generous amount of baking soda on the burnt residue. This will help to absorb any lingering odors and neutralize them. You can use a non-abrasive sponge or cloth to apply the baking soda evenly over the burnt residue.
Leaving it for a few hours or overnight
Once you have applied the baking soda, leave it for a few hours or overnight. This will give the baking soda enough time to absorb the odors and neutralize them. Depending on the severity of the odor, you may need to leave it for a longer period.
Scrubbing off the baking soda with a non-abrasive sponge or cloth
After leaving the baking soda for a few hours or overnight, you can scrub off the residue with a non-abrasive sponge or cloth. This will remove the baking soda and any remaining burnt residue from the baking tray.
Overall, using baking soda to neutralize odors from burnt baking trays is a simple and effective strategy. It is a natural and safe way to eliminate odors without the need for harsh chemicals.
Removing Remnants with a Scouring Pad or Steel Wool
- Gently scrubbing the area where the burnt residue was
When it comes to removing remnants of burnt residue from baking trays, using a scouring pad or steel wool can be effective. However, it is important to use a non-abrasive version of these tools to avoid scratching or damaging the surface of the tray.
To begin, wet the scouring pad or steel wool with soapy water and gently scrub the area where the burnt residue was. The friction created by the abrasive material should be enough to loosen and remove the residue. If necessary, you can also use a sponge or brush to help with the scrubbing.
It is important to be gentle when using a scouring pad or steel wool, as they can be quite abrasive. Avoid applying too much pressure or scrubbing too vigorously, as this can cause scratches or other damage to the surface of the baking tray.
Overall, using a scouring pad or steel wool with soapy water can be an effective way to remove burnt residue from baking trays. Just be sure to use a non-abrasive version of these tools and be gentle when scrubbing to avoid damaging the surface of the tray.
Rinsing the Baking Tray
After applying the soapy water to the burnt baking tray, it is essential to rinse it thoroughly to remove any remaining burnt residue. Here are the steps to follow:
- Rinsing the baking tray with clean water: Use a clean kitchen sponge or cloth to rinse the baking tray under running water. Make sure to remove any leftover soap bubbles from the tray before proceeding to the next step.
- Checking for residue: Once the baking tray has been rinsed, check to see if there is still any burnt residue remaining. If there is, repeat the rinsing process until the tray is completely clean.
- Scouring the tray: If there is still stubborn burnt residue that won’t come off, use a non-abrasive sponge or cloth to gently scrub the tray. Be sure to rinse the sponge or cloth thoroughly after each use to avoid spreading the burnt residue around.
- Repeating the process as necessary: If the burnt residue is particularly stubborn, it may be necessary to repeat the rinsing process several times until the tray is completely clean.
Overall, rinsing the baking tray with clean water is an essential step in removing burnt residue. By following these steps, you can ensure that your baking tray is thoroughly clean and ready to use again.
Sealing and Protecting the Baking Tray
Applying Sealant or Protective Coating
- Choosing the right sealant or protective coating
- It is essential to select a sealant or protective coating that is suitable for your baking tray’s material. For instance, silicone-based sealants work well for metal trays, while water-based coatings are suitable for non-stick trays.
- Preparing the surface
- Before applying the sealant or protective coating, make sure the baking tray is clean and free of any debris. You can use a soft cloth or sponge to wipe away any residue.
- Applying the sealant or protective coating
- Follow the manufacturer’s instructions for application. Typically, you will need to apply the sealant or coating using a brush, roller, or spray. Make sure to cover the entire surface of the baking tray evenly.
- Allowing it to dry completely
- Allow the sealant or protective coating to dry completely before using the baking tray again. This will typically take several hours, depending on the type of coating used. It is essential to follow the manufacturer’s instructions for drying times to ensure the coating sets correctly. Once the coating is dry, your baking tray will be protected from future burnt-on food residue, making it easier to clean in the future.
Preventing Future Burnt Residue
To prevent future burnt residue from accumulating on your baking tray, it is important to take proactive measures. Here are some effective strategies to consider:
- Avoiding overcrowding the baking tray: One of the main causes of burnt residue on baking trays is overcrowding. When you pack too many items onto the tray, they can easily rub against each other and cause friction, leading to the formation of burnt particles. To avoid this, make sure to leave enough space between each item so that they have room to breathe.
- Using a liner when baking sticky or sugary foods: Sticky or sugary foods, such as brownies or cookies, can be particularly difficult to clean off baking trays. To make the cleaning process easier, consider using a liner, such as parchment paper or a silicone baking mat, when baking these types of foods. The liner can be easily removed and discarded after baking, leaving the baking tray much cleaner.
- Cleaning the baking tray after each use: To prevent burnt residue from building up on your baking tray, it is important to clean it after each use. This can be as simple as wiping it down with a damp cloth or sponge, or using a more specialized cleaning product, depending on the level of residue.
- Storing the baking tray in a dry place: Finally, to prevent moisture from building up on your baking tray and contributing to the formation of burnt residue, make sure to store it in a dry place. This can be as simple as storing it in a cabinet or pantry, rather than leaving it out in the open. By taking these proactive measures, you can significantly reduce the amount of burnt residue that accumulates on your baking tray, making cleaning much easier and more effective.
FAQs
1. What are the causes of burnt baking trays?
There are several reasons why a baking tray might become burnt. One common cause is overheating, which can occur when the oven is too hot or the tray is left in the oven for too long. Another cause is the use of inappropriate cookware, such as metal or glass, which can cause the tray to become discolored or damaged. Additionally, spilling food or liquid on the tray can also lead to burning.
2. How can I tell if my baking tray is burnt?
If your baking tray is burnt, it will likely have a brown or blackened appearance. The surface of the tray may also be pitted or warped, and there may be a strong, unpleasant odor emanating from the tray. In some cases, the burnt residue can be difficult to remove, even with vigorous cleaning.
3. What are the best methods for cleaning a burnt baking tray?
There are several methods you can use to clean a burnt baking tray. One effective method is to use a mixture of baking soda and water to scrub away the burnt residue. You can also try using a mixture of vinegar and water, or a commercial oven cleaner. It’s important to follow the manufacturer’s instructions for any cleaning products you use, and to avoid using abrasive materials that could scratch the surface of the tray.
4. Is it safe to use abrasive cleaners on a burnt baking tray?
No, it’s not safe to use abrasive cleaners on a burnt baking tray. Abrasive materials, such as steel wool or scouring pads, can scratch the surface of the tray and cause further damage. Additionally, these materials can potentially contain harmful chemicals that could be dangerous if ingested or inhaled. It’s important to use gentle, non-abrasive cleaning methods when dealing with a burnt baking tray.
5. How often should I clean my baking trays?
It’s recommended that you clean your baking trays after each use. This will help prevent the buildup of food and residue, which can lead to burnt trays and poor-tasting baked goods. Additionally, cleaning your trays regularly will help extend their lifespan and prevent the need for more extensive cleaning later on.


